How to Tell When Apples Are Ready to Pick: Colour, Seeds and Taste
An apple picked a week early rarely tastes as good as one left to finish on the tree. Sugar and aroma are still building, and the flesh has a hard, green edge that no amount of storing will shift. Leave it a week too long and you get the opposite: soft, floury fruit that bruises at the first knock. That window exists on every tree, and it is wider on some varieties than others. Apples do not announce it. They give a handful of quiet signals — in the pips, the skin, the stem and, most usefully of all, the taste.
Why Tree Ripeness Beats Supermarket Timing
Commercial growers pick for shelf life, not flavour. Fruit has to survive packing, cold storage and a spell on a supermarket shelf, so it comes off the tree before it is ready. A garden tree has no such obligations.
An apple's sugar is largely set on the tree. After picking, starch converts to sugar for a short while, then the fruit softens and loses acidity and aroma. Unlike a pear, an apple will not ripen into something better on the windowsill. What you pick is very close to what you eat, which is why the last fortnight matters so much.
There is another difference: a tree-ripened apple has spent longer in sunlight, developing colour, aroma compounds and a fuller flavour. That is why even a simple variety such as Discovery or Katy, eaten within days of picking, can taste far better than a perfectly shaped shop-bought apple that was harvested three weeks earlier and flown halfway round the world.
Check the Pips First
The seeds are the easiest place to start. Cut an apple in half across its equator — not top to bottom — and look at the pips.
- White or pale cream: unripe. Leave it.
- Pale brown with darker edges: ripening. Test again in a few days.
- Dark brown or near-black: ripe, or very close to it.
Pips are a guide, not a verdict. Late keepers such as Bramley can hold dark pips while the flesh is still firm and sharp, and some early varieties drop before the pips go brown at all. Take your sample from the sunny outside of the tree; fruit in the shade may lag behind. If you are testing several apples, cut across the equator so you see all five pips at once, and compare them with the texture of the flesh. A dark pip in soft, mealy fruit means you are already late.
Read the Colour — but Read It Carefully
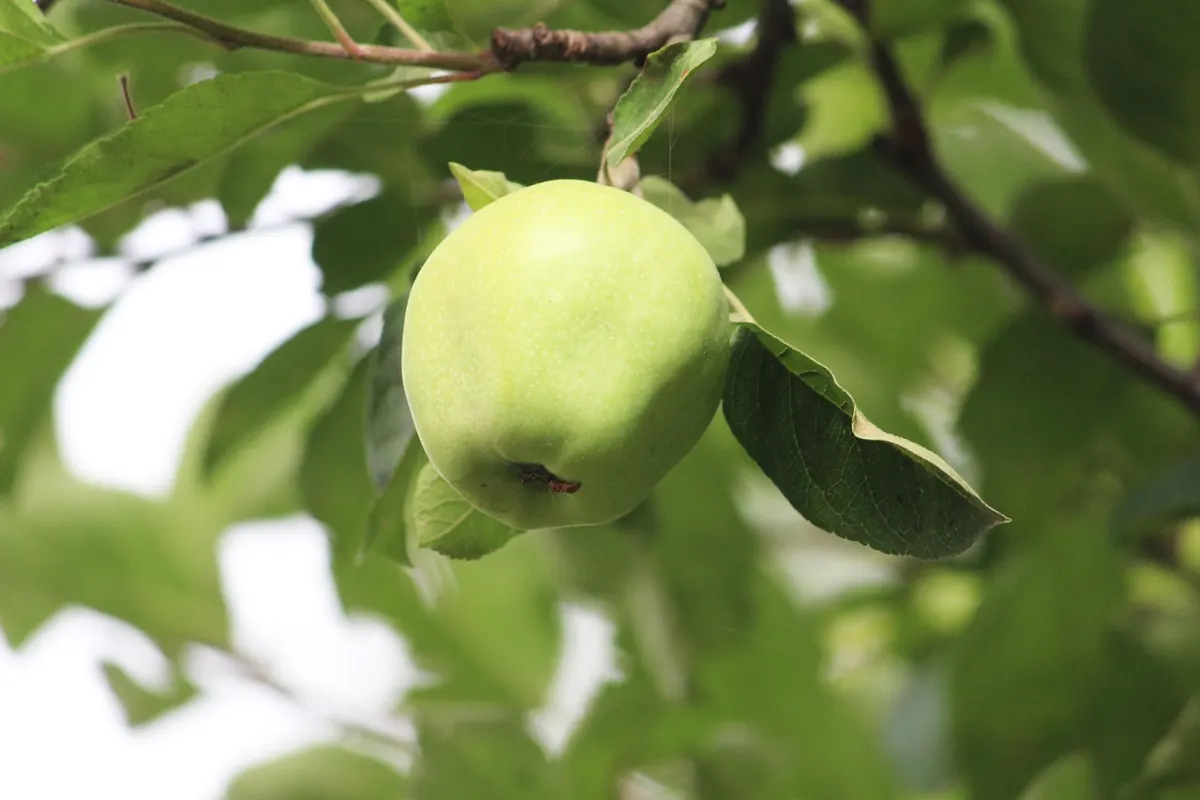
Colour is the most visible clue and the easiest to misread. Many gardeners look only at the red blush, but the better signal is the ground colour: the skin around the stem and on the shaded side, where the green gradually fades.
- Bright, hard green: unripe. The apple is still growing and building starch.
- Greenish-yellow or creamy green: nearly ready. Start tasting.
- Warm yellow, ivory or golden: ripe for eating, depending on variety.
The red blush can deepen before the fruit is truly ripe, especially on varieties such as Gala and Braeburn. A red apple can still have a green ground colour. Conversely, some green apples — Granny Smith, for example — never turn yellow, so you must rely on pips, feel and taste. In a hot summer, colour may arrive early; in a cool, wet year, it may lag. Never pick by colour alone.
Feel, Stem and Ease of Picking
Once colour and pips suggest ripeness, use your hands. Cup the apple and lift it gently. A ripe apple usually parts from the spur with a small, clean snap, its stalk still attached. If you have to pull hard, it is not ready. If it drops at a touch, it is overripe or damaged.
Feel the weight and firmness. A ripe eating apple feels heavy for its size and firm, not rock-hard. The skin may have a slight waxy sheen. Press gently near the calyx — the base — with your thumb. You want a little give, not a dent. Also look at the stem cavity: on many varieties it deepens and turns from green to yellow as ripening advances. The background skin around the stem is often the last place to lose its green.
Taste Is the Final Test
No chart beats your palate. Pick one apple from the outside of the tree, where fruit ripens first, and taste it. If it is sweet, juicy and aromatic, with a little acidity to keep it lively, the tree is ready. If it is sharp, starchy and tight, wait. If it is bland, soft and floury, you have waited too long.
Taste at different times of day if you can. Fruit picked in the cool of the morning is often crisper, but flavour is usually fullest after a sunny afternoon. Chew the flesh near the skin as well as the core: aroma and sweetness are often strongest just under the skin. Spit out the pips, of course.
An apple is ready when it tastes like the apple you hope to eat — not when it merely looks like one.
Know Your Variety and Its Season
Variety changes everything. Early apples such as Discovery, Beauty of Bath and George Cave are ready in late July or August and must be eaten quickly; they do not store. Mid-season apples such as Cox's Orange Pippin and Egremont Russet arrive in September and early October. Late keepers such as Bramley, Braeburn, Fuji and Granny Smith may hang into October or November and then store for months.
Keep a notebook, even a simple one. Record the date you first taste a ripe apple, the weather that year, and how long the fruit keeps. After two or three seasons you will have a personal calendar far more reliable than any general guide. A tree in a sunny, sheltered spot may be a week or two ahead of the same variety in a cold, exposed garden. A heavy crop can also delay ripening, because the tree is supporting more fruit.
How to Sample Without Wasting the Crop
You do not need to sacrifice a perfect apple every time. Pick one or two from the sunniest side, where ripening starts earliest. Cut them across the equator, check the pips, and taste a slice. If they are close but not quite there, wait two or three days and test again. In warm weather, ripeness can move quickly, so check daily once the pips begin to darken.
If birds, wasps or windfalls tell you the fruit is sweetening, that is another clue. But do not let fallen fruit dictate the whole harvest: an apple on the ground may simply have been knocked off or be suffering from codling moth. Use it as a prompt to test the tree, not as proof that every apple is ready.
Picking, Storing and Using the Harvest
When the test says yes, pick in dry weather and handle each apple as if it were an egg. Twist gently upward rather than pulling straight down. Leave the stalk on; a broken stalk is an open door for rot. Place fruit into a padded basket or box, not a deep bucket where the weight will bruise the lower layers.
Sort as you go. Use bruised or damaged apples first for sauce, pies, chutney or juice. Store perfect fruit in a cool, dark, frost-free place with slight humidity — a shed, garage or cellar is ideal. Wrap each apple in newspaper or nestle them in shallow trays so they do not touch. Check every few weeks and remove any that are spoiling. Early varieties may last only a week or two; late keepers can last until spring.
A Quick Field Checklist
- Cut an apple across the equator and check the pips.
- Look at the ground colour around the stem, not just the red blush.
- Lift and twist gently: ripe fruit comes away with a clean snap.
- Feel for firmness with a little give, not rock-hard or soft.
- Taste a sample from the sunny side of the tree.
- Check again in two or three days if it is close.
With a little practice, the signals line up: brown pips, a yellowing ground colour, a clean snap and a taste that is sweet, juicy and aromatic. That is the moment to pick. Wait for all of them, and you will eat apples that no supermarket can match.
Photo: RavindraPanwar / Pixabay